


Kids Drawing, Santa Claus is a well-known holiday figure everywhere, and for many kids, he is the Christmas Eve visitor they are most looking forward to. Surprisingly, St. Nicholas, often known as Santa Claus, was a genuine person who existed in Asia Minor during the close of the third and beginning of the fourth centuries. Like the current Santa Claus, he brought children numerous gifts.
Step-by-step instructions for drawing Santa:
Draw Santa’s face:
- It’s time to enhance our sketch, beginning with the look!
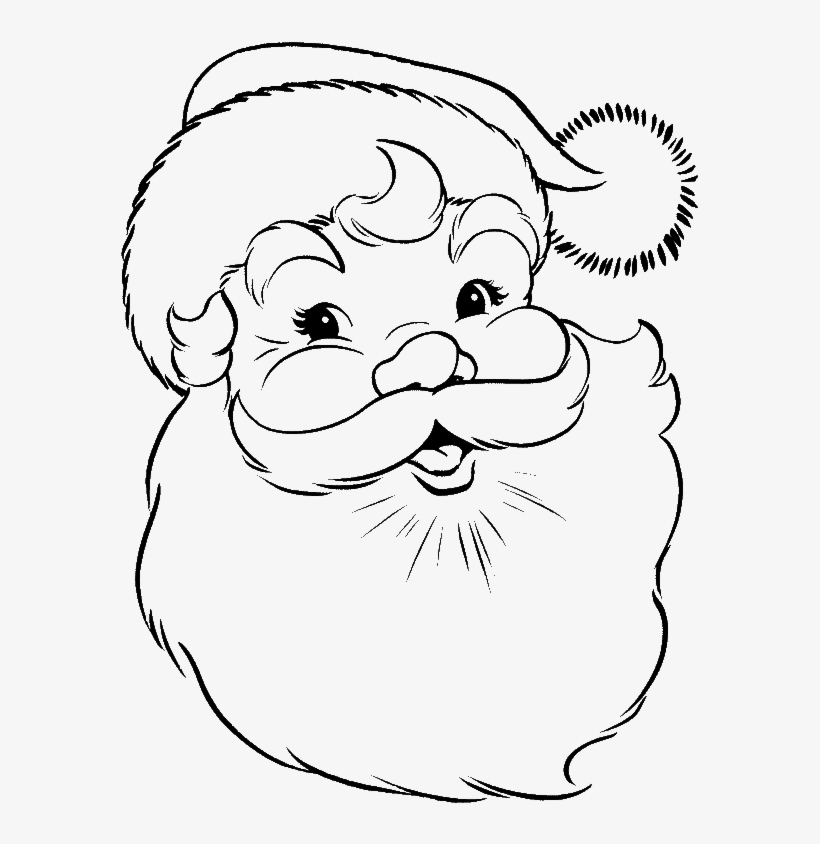
- Another one of the standard Santa Kids Drawing props is reading glasses that are positioned halfway down the nose. They are two little circles joined above the nose by a curving bridge. Draw out only the visible portion of Santa’s eyes since the glasses partially conceal the rest.
- Next, make the mustache better by adding elegant sharp ends that wrap around the sketched ovals. The brows’ edges should be rounded off. The mouth should be drawn precisely as in the sketch. Done.
Santa’s hat and beard:
- Sketch Santa’s cap and beard.
- Next is another enhancement to the sketch: when drawing Santa’s beard, add a random zigzag line to the outline.
- Just remember to break the bottom edge of the edge for eyebrows.
Draw Santa’s arms and bag:
- Draw the mittens and arms of Santa Kids Drawing. Those are the sketch’s precise contours. The only other trick to be aware of is leaving out the portion of the shoulder line that the bag hides (on the right arm, which is Santa’s left arm…Stop, don’t do it again!).
- The bottom of the bag is still unfinished; we will finish it in the subsequent phase.
Santa’s coat and belt:
- Let’s adjust the coat to alter the body’s bowling pin shape. Draw a little curve into the edges of the belt since the belt’s tight fit causes the coat’s outline to be slightly narrow.
- The lower portion of the skin then slightly protrudes between the belt and rim. Finally, there is a bit of inward curvature in the line from the armpit to the belt.
Draw Santa’s legs and boots:
- The legs and boots are the final components to outline. There are no fancy improvements here; this is just a simple sketch outline.
- Okay, almost; we have slightly adjusted the size of the legs. Skipping the simple shape first and then enhancing it the second time around is the purpose of sketching and outlining.
Remove the sketch’s lines:
- To reveal the whole drawing of Santa, use an eraser to remove the sketch lines. We have created a Santa that looks quite decent; thus, this could be the end of our explanation of how to draw a Santa.
- However, the drawing appears a little too flat. See if we can take action in that regard.
Add shading and detail lines:
- Let’s add some lines for shading and details to break up those flat surfaces.
- Let’s start with the fold lines: the triple line inside the elbow of the waving arm and the two folds on the cap.
- Now for some shading: brief strokes on the shoes, the pants, the bent elbow, and the bottom tip of the cap.
- The fur on the pompom, broken hair lines on the beard and mustache, and some roughness on the bag round out the final few lines of detail. The boots’ soles are thickened last, and we’re done.